
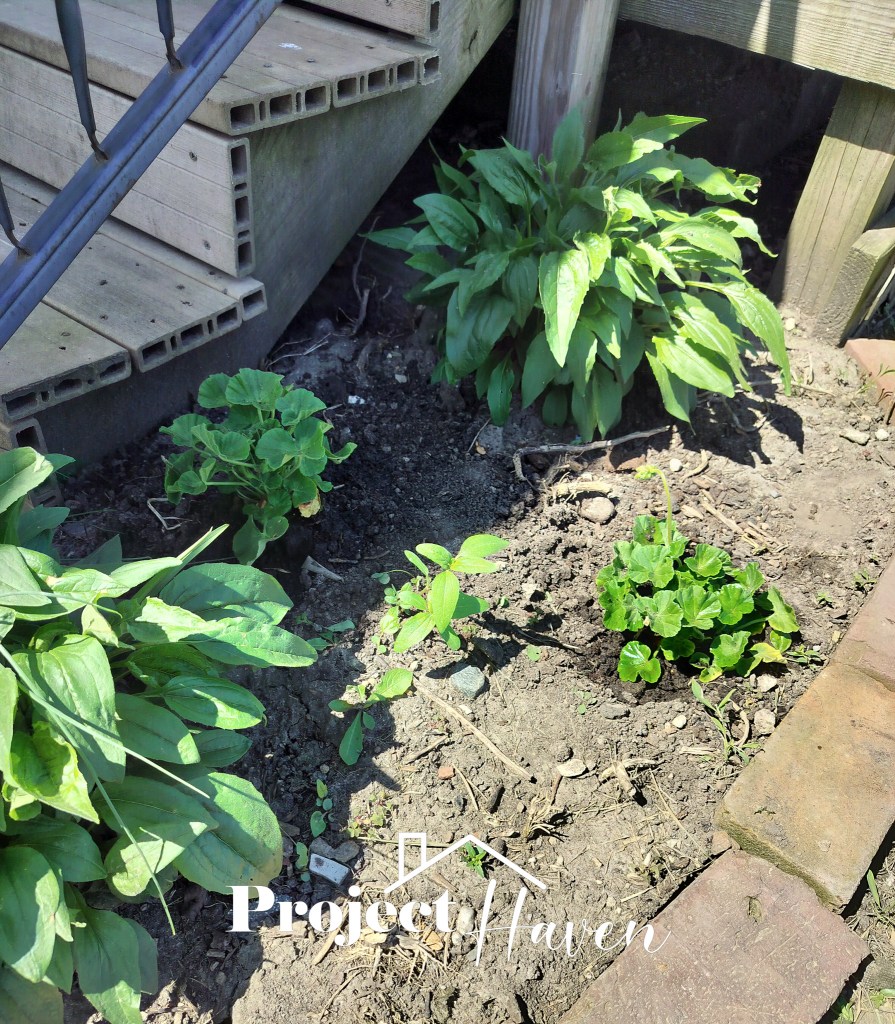
On yet another trip to Menards (seriously, we should buy stock in that place someday) for supplies, we picked up a couple geraniums–heat hardy, perfect for when they might not be watered for a few days at a time. The girls really enjoyed planting them.
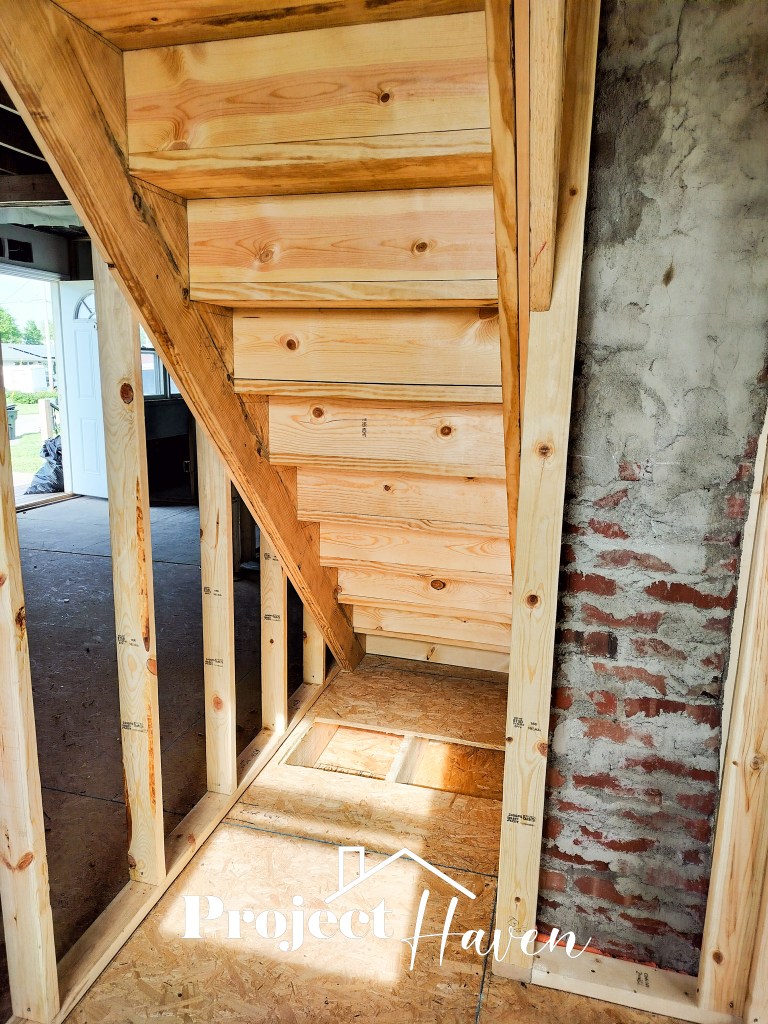
Esther and the guys got started on the stairs and got a system down pretty quickly. The bro-in-law routed the edge of the nosing (more on that in a sec),
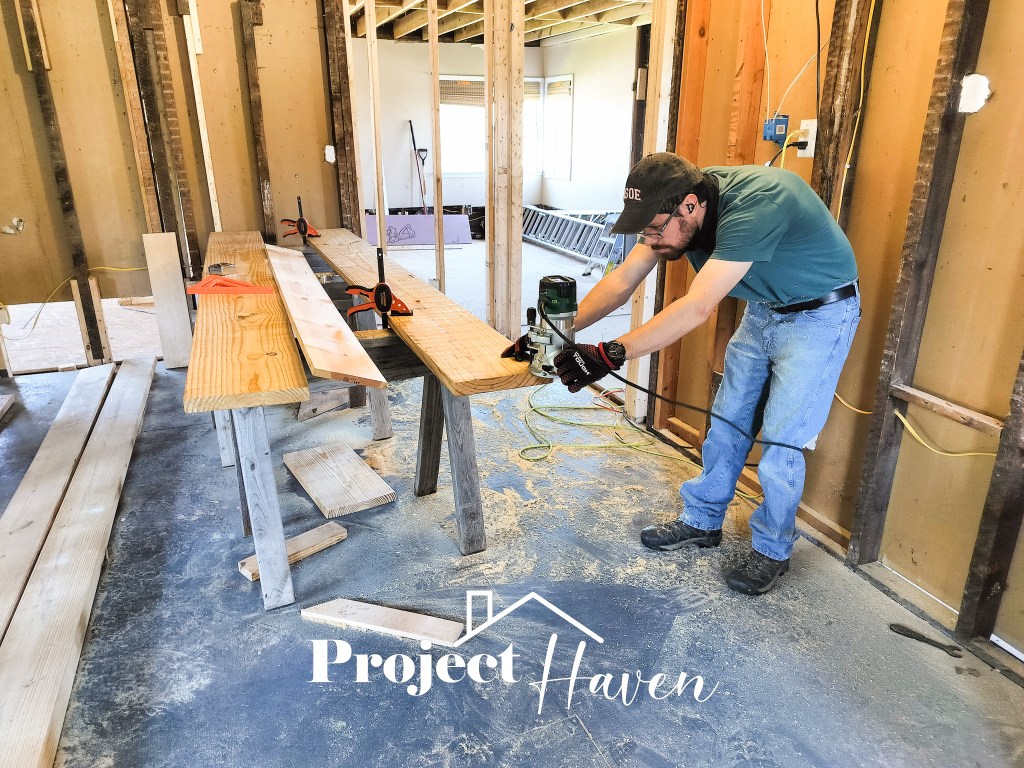
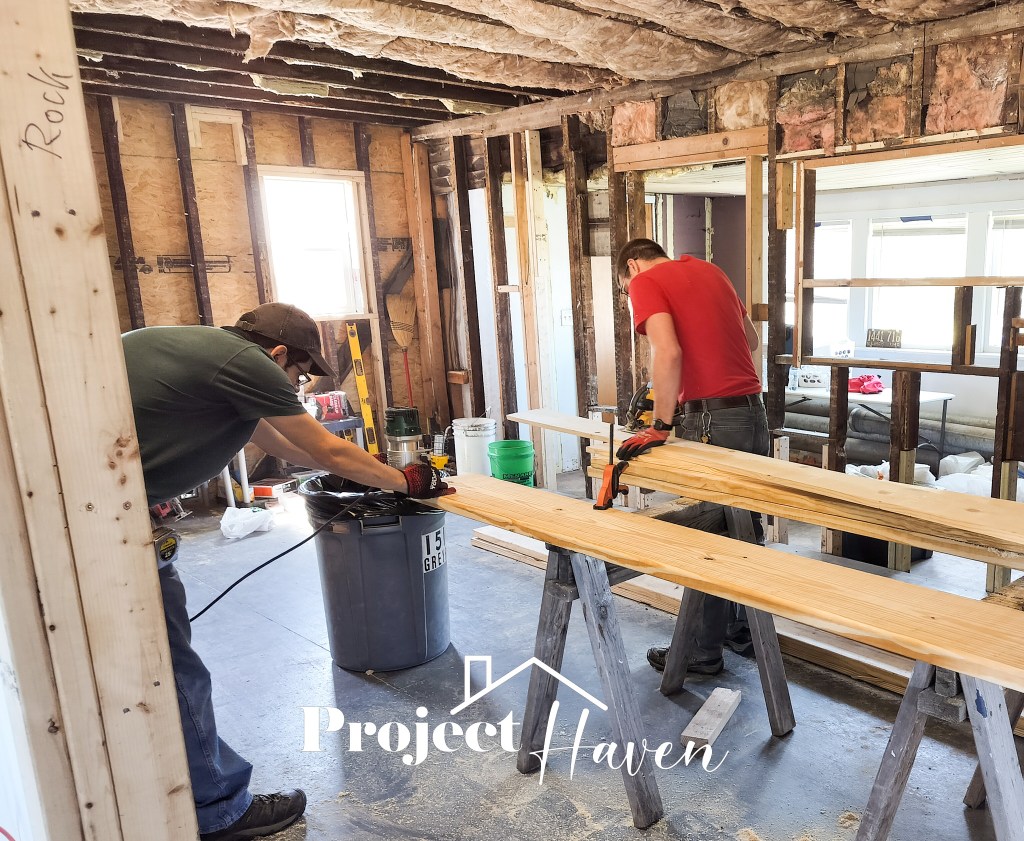
Matt cut out the risers and the treads,
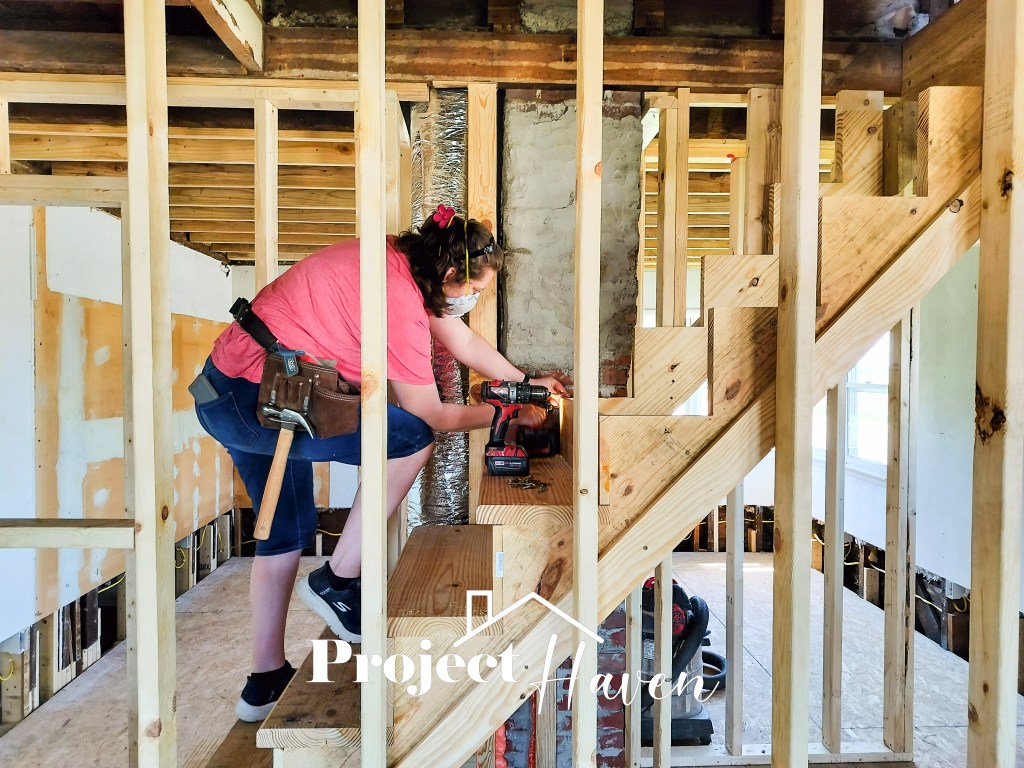
and Esther screwed them in.
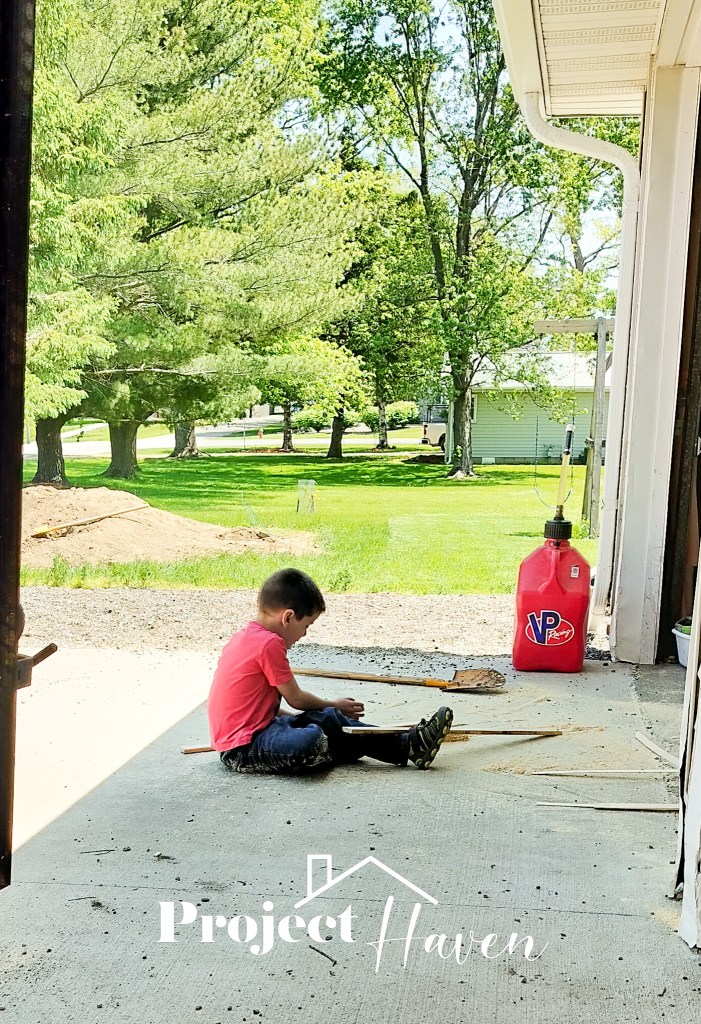
[We interrupt this programming to advertise the magical qualities of none other than the all-natural sawdust! Is your child bored all the time? Whiny? Irritable? Irascible, incorrigible, and generally impossible to live with indoors? You simply must get them a driveway full of sawdust, and watch all their behavior issues instantly vaporize! All for the low, low cost of…needing a bath.]
We made rapid progress, and the stairs were done! The kids were excitedly climbing up them while Esther was still trying to finish up the last couple screws.

The nosing is the smooth rounded edge on the front of the tread. The cost of each pre-nosed tread was about the same as one long board that three treads could be cut out of. Matt already had a router, so we nosed our own stair treads! A couple of them aren’t perfect, but it’s a cool feeling that we did them ourselves and learned a new skill.

We ran out of riser board for the very top riser. Oops! Matt sheepishly said he must have done his math wrong, and the guys scrounged up a black-painted board that would work and cut it to fit.
“What is this?” said Esther when she was handed it to screw into place. “One old black board at the end of our nice new staircase?” but in it went.
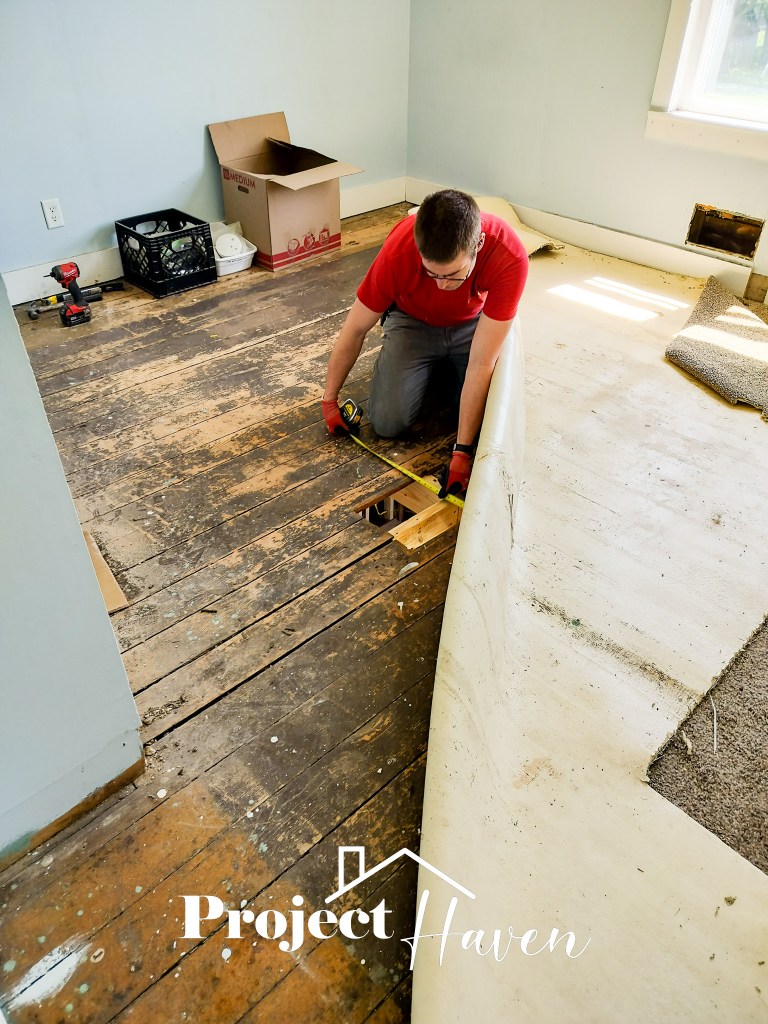
Now that we could get to the upstairs, we were able to start dealing with things like the landing and various holes. This one was left from a grate in the floor.
In the process of cutting boards for the bits and pieces, we found a riser board…forgotten in the back of the garage from last week when we started on the stairs.
Matt hadn’t messed up his math. And we replaced the ugly black board with a last clean fresh riser. Ahhh…
Now that we were able to walk on the second floor again, we were a little disappointed in the north bedroom floor strengthening. The “swim” was better, but it was still there, more than Matt had hoped. So the guys used the nail gun and drove a bunch of nails to attach the floor to the new joists…and it still didn’t improve significantly. So they then took structural (basically means just bigger and stronger than normal) screws and screwed the old floor/ceiling joists to the new ones in more places. Boom. Problem solved.
On to the next issue: the mudroom ceiling.

Yeah. Take a good look at that brace right there. Any ideas as to why it’s there?
Well, see…Matt was climbing around in the attic above the mudroom several weeks ago to deal with some electrical when the entire ceiling dropped several inches under him.
Freaked everybody out.
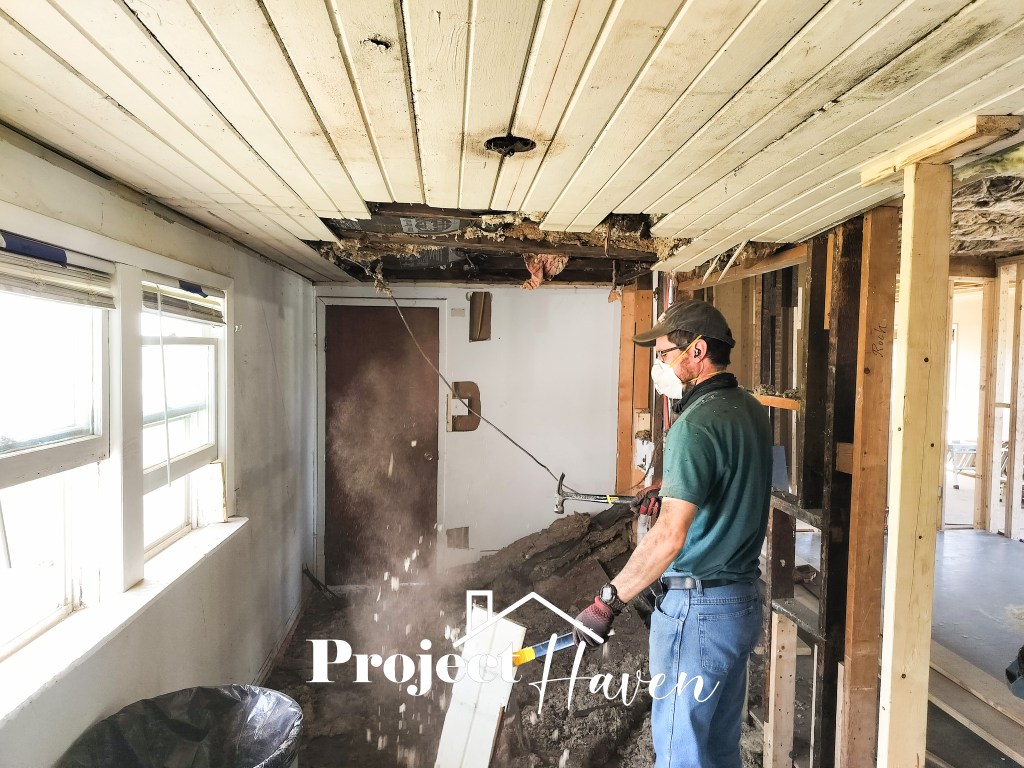
Apparently for good reason.
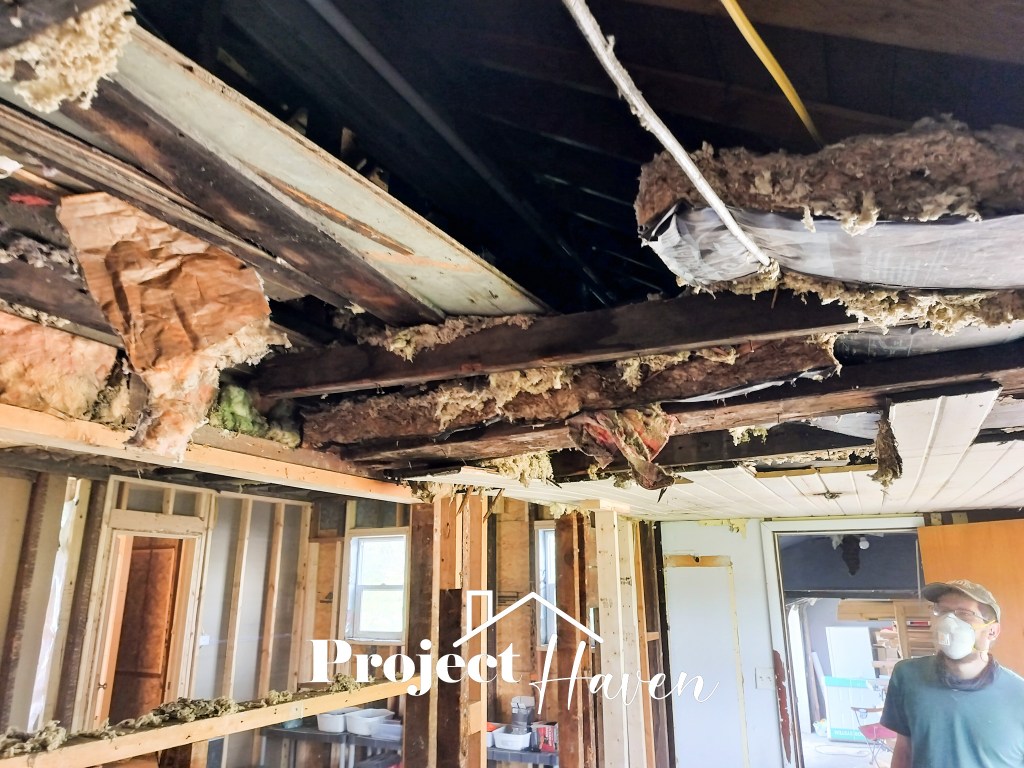
Apparently the whole ceiling was barely even attached to the wall on the house side.
It was NOT in the original plan to take it down, but it was clear that it just wasn’t stable. So it had to come down.
When the guys were demolishing it…let’s just say their biggest challenge was to not demolish it too fast. It was a really good thing they had that brace up.
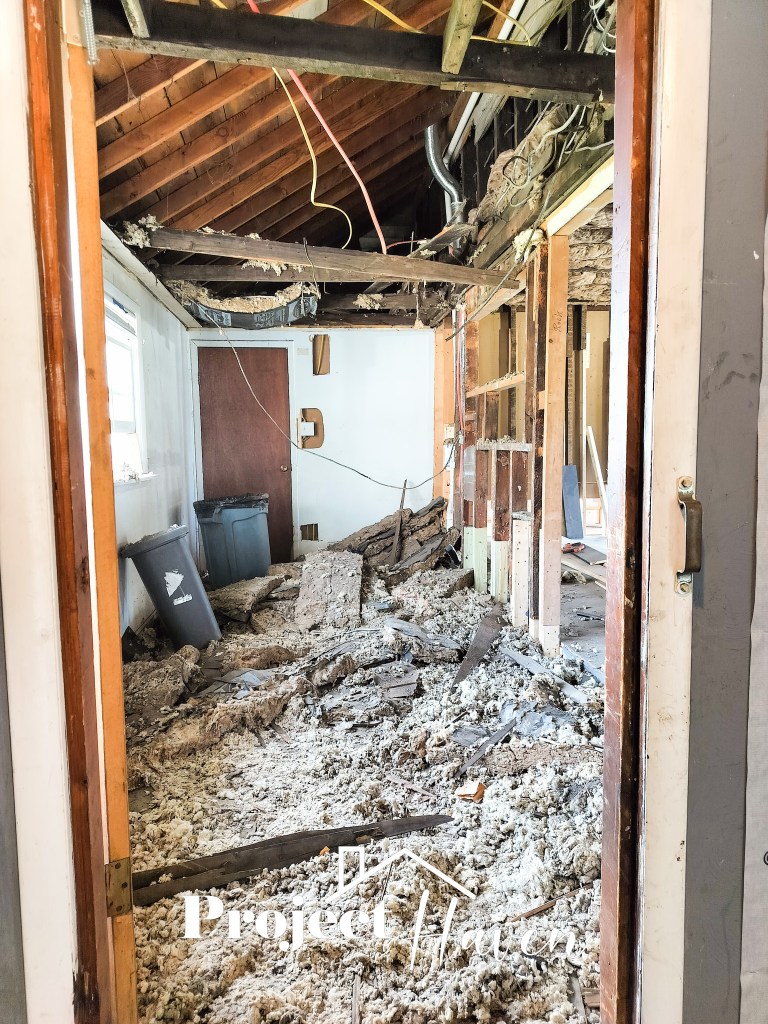
The rest of the day was spent on cleanup. Ugh, the cleanup. Loose-fill insulation is the worst.

Whoa…that’s a major mood change.
